Are you looking for an easy and free way to turn your images into icons for macOS ? Look no further, I found a neat little online tool that does just that: Img2icns.
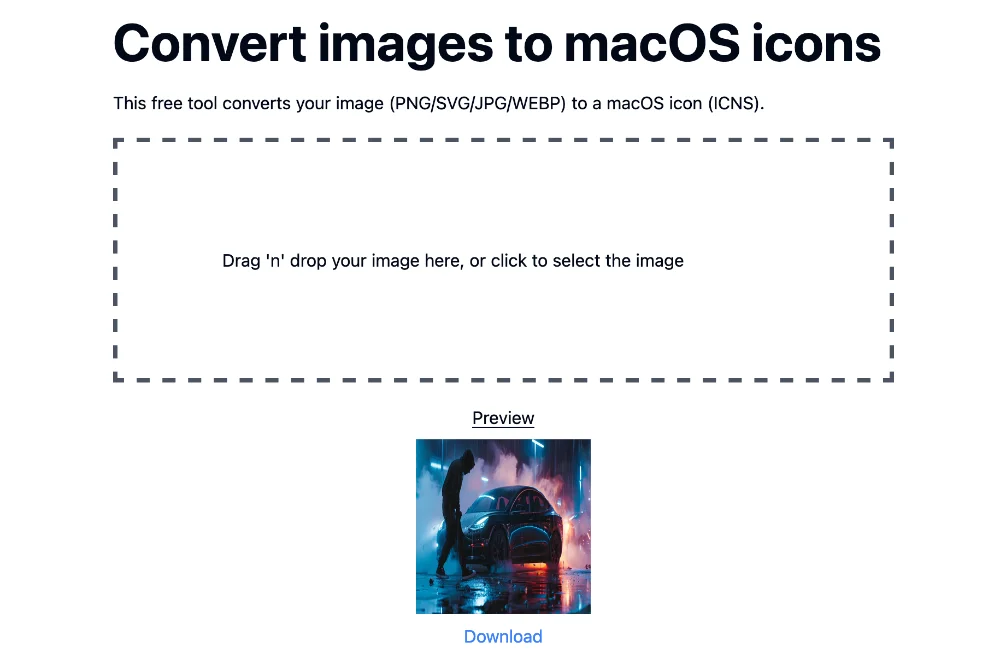
This free website allows you to easily convert your images into formats PNG, SVG, JPG and WebP in macOS icons in ICNS format. All you have to do is drag and drop your image onto the page or click to select it from your computer, and that’s it!

This is useful if you are developing an application for Sword and you want to give it a fancy custom icon, instead of the sad default blue folder. Or if you are a fan of customization and want to change all the icons on your system with your favorite images. It can also be useful for graphic and web designers who need to create custom icons for your projects.
After you publish your image on the website Img2icnsthe page will automatically convert it to ICNS icon which is the standard format used by macOS for icons. This will generate an .icns file that will actually contain several versions of your image in different sizes, from 16×16 to 512×512 pixels. In this way, the system will be able to optimally display the icon regardless of the required size.
Img2icns also manages transparent images, which can be very practical for creating icons of original shapes that will fit perfectly into the macOS interface. On the other hand, if your starting image is not square, it will be automatically resized and centered to fit the square ICNS icon format. So don’t hesitate to pre-crop your image to the right dimensions for optimal results.
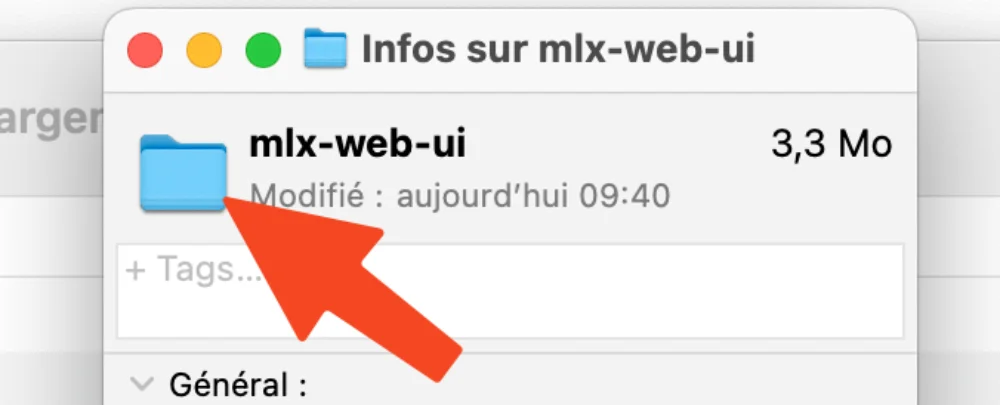
Then simply go to the Finder, right-click the folder or file whose icon you want to change, and click “Read Info.” Then you should come across this type of window.

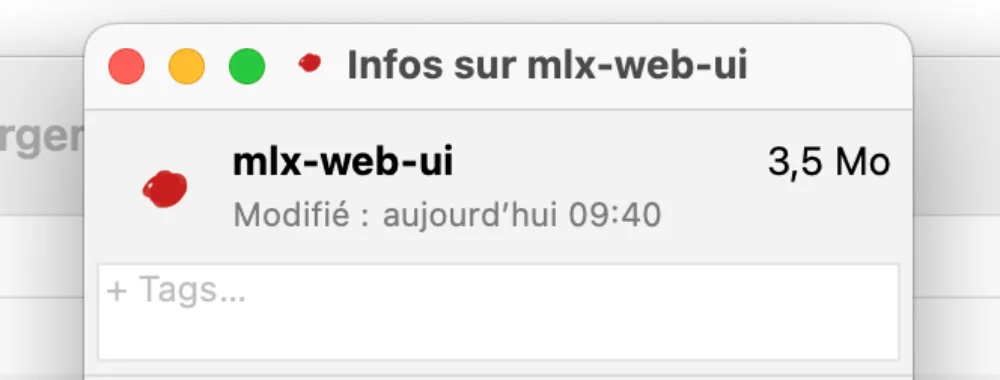
Then drag your icns icon instead of folder or file icon and tadaaaa.

In short, if you need to simply create custom icons for macOS from any image, Img2icns it’s a dream tool.